Home » Creating a Form
Creating a Form
Forms are a useful tool to utilise to ensure that the correct procedure is being completed onsite. Forms are completely customisable and can be edited at any point. Each form will be attached to a service type therefore they can be as specific or as general as you like.
Updated: 27/10/2025
Step 1: Creating the Form Template
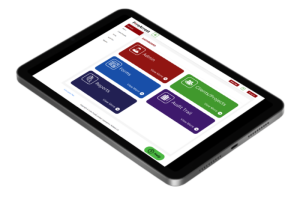
- Login to the FireArrest Dashboard using yourcompany.firearrest.uk
- Select Forms on the dashboard
- Click Add form
- Now the blank form template will be displayed
Step 2: Adding in the necessities
- Add a Form Title
- Add a Category Name
Category Names are useful as they allow you to separate each aspect of the form. For example, before, during and after.

Step 3: Understanding the Controls
There are a lot of features that you can do on a form and to each individual question. Let’s quickly run through each button and what it does.
1. Adding a New Question
- A new question is added by selecting the green plus symbol on the right of the screen
- This will add a new question below the currently selected question.
2. Duplicating a question
- Every question will have the option to be duplicated. This will copy everything that is on that question except for the question number.
3. Make the question mandatory
- Every question can be made mandatory to fill out when the operative onsite.
4. Create Rules
- There are multiple types of rules that can be created for each individual question.
- Is or is not
- Answer Type
- Action Type
- Mandatory
- Non-Mandatory
- Disable
- Question it is affecting.
- Each question can have multiple rules depending on each answer given.
5. Adding in the Category
- As explained earlier, each question can be assigned to a category which will distribute individual questions across different pages depending on the category allocated.
6. Finally, each question can be deleted from the form
Step 4: Finishing the Form
There are a final few steps to complete once all of the questions have been added onto the form.
- Mandatory to sign by Operative
- All forms have a mandatory option for them to sign the form once they have completed it onsite. This ensures that the form has been completed by that operative onsite.
2. Mandatory to fill the form
- All the forms have an option to make it mandatory to fill out the form. This will not overwrite the required option on each specific question but make the fact that you have to complete the form mandatory.
3. Finally select save to ensure all the progress have been submitted.